Pikmin 4: Serene Shores Treasure Locations
This article is part of a directory: Pikmin 4: Complete Guide And Walkthrough
Table of contents
Did you think the Blossoming Arcadia had a lot of treasure? Well, it did! But the Serene Shores has even more, making for one of Pikmin 4's largest and most time-consuming areas yet. And with the tides shifting at mid-day, it only gets more complicated. Some treasure only shows up in low tide, after all.
RELATED: Pikmin 4: Blossoming Arcadia Treasure Locations
A quick remark, however. This is the first area that White Pikmin become available. We recommend getting a hold of them early on. They are required for uncovering certain buried treasures around the map. If you were stuck at 99 percent for the other maps, it's likely because you need a White Pikmin with you.
Serene Shores Surface Treasure Locations
The surface of the Serene Shores offers something unique: low tide. At the mid-day mark, the water will lower, creating more land and granting access to more area. Keep this in mind as you travel. Due to the massive amount of water here, assume that all treasures will require Blue Pikmin. Beyond that, a handful will require Yellow and Ice Pikmin. So we recommend bringing some of them, too.
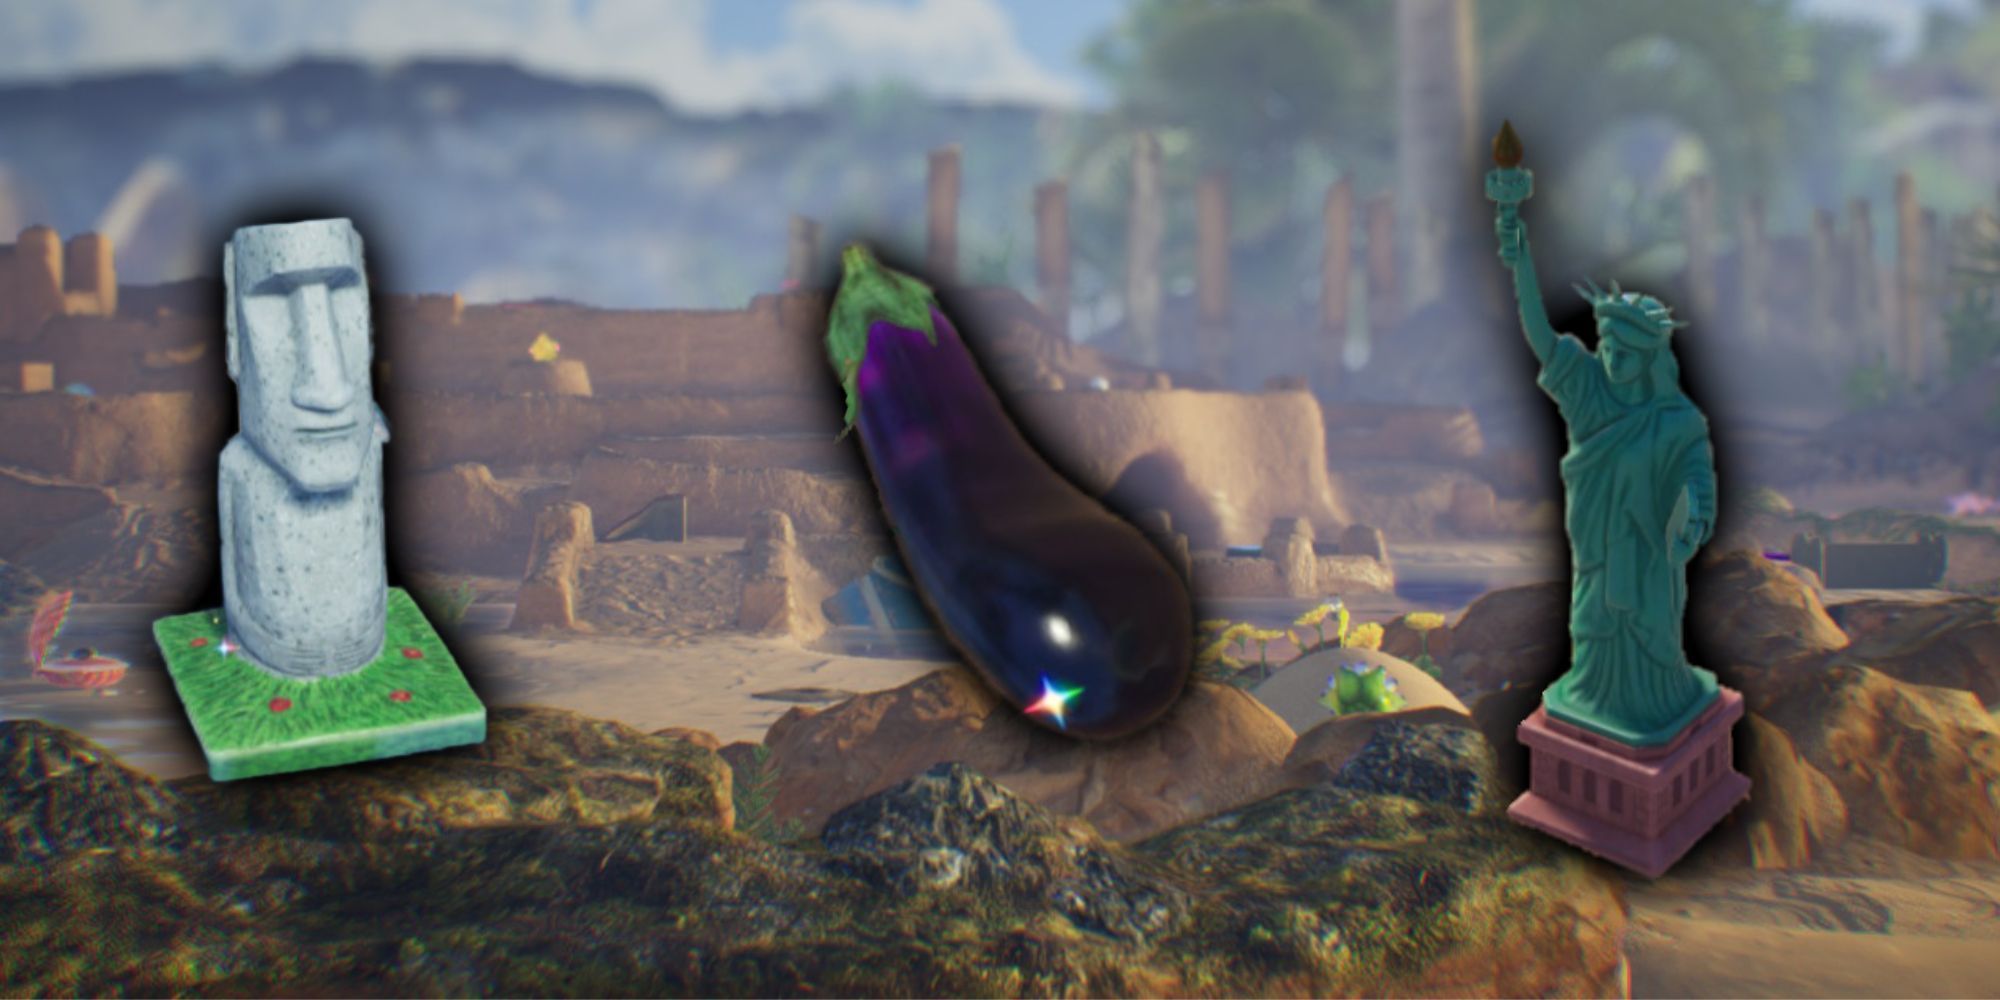
Treasure Location Description, Name, Details Chance Totem (x2) Southwest edge, behind a destructable wall Emperor Whistle Southwest edge of the sandcastle. Completely hidden in the sand of the upper ledge. Throw Yellow Pikmin up to it to dig it up Stellar Extrusion Middle of Sandcastle zone, use Yellow Pikmin to reach Crimson Banquet Under the sandcastle on the West side of it. Use Ice Pikmin to break the jelly, then wait until low tide to carry away. Requires 100 strength Fish-Bed Snack Defeat enemy on top of Sandcastle landing site Gold Nuggets Just northeast of sandcastle landing site, off the edge. Build the stick nearby for faster retrieval Stately Rubber Cutie (x2) Northmost base of the sandcastle, hiding in seaweed Zest Bomb East of map, in pool Northeast of sandcastle Dawn Pustules East of sandcastle, in the pool of water in front of it. (past the lime) Foolish Fruit Completely buried on a ledge in the central zone of the sandcastle. Throw Yellow Pikmin up, or jump down from above. Mock Bottom In the large bucket at the foot of the sandcastle zone Fishy Bed Behind a destructible wall just a bit west of the "mock bottom" bucket Ring-of-Return Shield Inside of a clam in the middle zone of the map. Be wary of it clamping down on your Pikmin Gold Nuggets In the central zone. Check back during low tide if it's not there. Gold Nuggets In the same area as the peach and fish sponge, southwest of the central area Bright Sword In a giant pile of sand, covering the central landing site. Dig it out Lamp of Inspiration West side of the map, up a small mountain. Requires Yellow Pikmin to reach Orbital Communication Sphere Hiding in seaweed just south of the Statue of Liberty location Face Wrinkler In the West zone of the map, held by a giant crab Newtolite Shell Buried under the sand in the water of the Northeast corner Mystery Squish Fish Pull up on the left stick and rope in the small zone to the Northeast. Be wary, the other one pulls up a large crab Princess Pearl Go to the small zone in the Northeast during low tide. Defeat the clam Giant's Fossil Clear the jelly from the central zone and build the bridge that heads east. Carry this back during low tide for less effort. Alternatively, break the wall on the South end of the East pool zone and carry it out that way. Slapstick Crescent Swim with Oatchi to the coral on the far East of the East pool zone. If low tide, jump up the coral Dapper Rubber Cutie Northmost pond. Use Ice Pikmin to break the jelly. Can be made easier by digging up the pile of sand in the water, draining it. Stately Rubber Cutie On a ledge just outside the exit to the Engulfed Castle caves Lesser Mock Bottom In the Northwest zone, near a Whiptongue Bulborb. Completely buried, needs dug up. Ambiguous Hostel Along Northern edge of Northwest zone Juicy Gaggle Northwest zone, past the Whiptongue Bulborb. Has a bug under it. Heroine's Tear Northwest Zone. Uncover nearby air vent, jump up, and defeat the lobster. Will be completely buried. Might require White Pikmin
Below-Grade Discotheque Treasure Locations
Sounds like a fun time, right? No. It's a dangerous and long cave system. It does grant you the first Winged Pikmin candypop bulb, though. Be ready; this cave has one of the most intimidating and dangerous boss encounters yet.
Treasure Location Description, Name, Details Sphere of Truth Hanging near landing zone. Go around and throw Pikmin from upper ledge Thrill-Ride Track Generally in the open, just go take it Sphere of Vitality Requires digging out from a dirt hole
Sublevel 2
Treasure Location Description, Name, Details Soul Reverberator From the hover platform, throw a Pikmin at the button to lower the iron fence Olfactory Sculpture Take the hovering platform in the Northwest corner. As you pass, throw Pikmin at the treasure
Sublevel 3
Treasure Location Description, Name, Details Gold Nuggets Clear the tunnel of dirt in the Northeast corner to reach it Turn-of-Events Track Move the large box by throwing Pikmin on conveyors and changing their direction at the right time. Once moved, go collect
Sublevel 4
Treasure Location Description, Name, Details Relentless Spear Held by the Hog thing to the Southwest Gold Nuggets Center of the map Sphere of Beginnings Northern center of map. Cool the surrounding lava by crafting the valve to the West. Requires dug up
Sublevel 5
Treasure Location Description, Name, Details Amplified Amplifier Reward for defeating the disco boss
RELATED: Every Type Of Pikmin And What They Do
Seafloor Resort Treasure Locations
This is one of the more enjoyable ones to explore in. The aquarium tank vibe may not make sense for a 'cave,' but it sure is pretty. Be ready to use a lot of Blue Pikmin for all of these water-heavy levels.
sure Location Description, Name, Details Sunseed Berry East side of island. Use Blue Pikmin to resist the sprinkler nearby Maternal Sculpture Hanging in the center of the map. Throw Pikmin from nearby elevated ledge Gold Nuggets Southwest area, beware of nearby jellyfish False Lollipop Pull on the stick tied to a rope to the West Maestro of Flavor (x2) On a sponge to the Northwest
Sublevel 2
sure Location Description, Name, Details Dapper Blob Central area, use Blue Pikmin Trap Lid Central area, use Blue Pikmin Universal Rubber Cutie Northern side of island. Go West, build the stick, and press the button to remove the bars Stately Rubber Cutie (x3) Southeast side, there are bugs hiding under them Octoplus (x2) Northmost point on the map, along the ledge
Sublevel 3
sure Location Description, Name, Details Monster Teeth Southeast area, Use Oatchi to jump up the ledge to reach Gold Nuggets Northwest corner of island Brush of Foolishness Northwest side of island. Pressing the button to lower the gates. Building the bridge near the starting point will make retrieval faster Mystery Squish Fish (x2) In the central pool area, underwater Mystery Squish Fish In the central pool area, hiding in seaweed Spirit Sword (x3) In the central pool area, hiding in seaweed
Sublevel 4
sure Location Description, Name, Details Greed-Inducement Device Dropped by big frog boss
Subzero Sauna Treasure Locations
Of all the places to discover White Pikmin, we didn't expect it to be this one. But sure enough. Many of the levels are too cold to leave Pikmin off of Oatchi. So bring lots of Ice Pikmin and deal with dry Ice as fast as you can.
Treasure Location Description, Name, Details Gold Nuggets Break small jelly near starting zone Distinguished Delicacy Freeze and break the jelly with Ice Pikmin in the Northeast room Gold Nuggets Find nearby White Candypop Bulb, and use it to create White Pikmin, have them carry the nuggets through the poison
Sublevel 2
Treasure Location Description, Name, Details Memory Fragment (Left Edge) Destroy all dry ice nearby to melt the pool True Goo Send White Pikmin past bars to break the jelly and carry it past the poison
Sublevel 3
Treasure Location Description, Name, Details Contemplation Station End zone reward for boss encounter
Engulfed Castle Treasure Locations
To reach every inch of the surface, you need to take a detour through this cave. It holds the interesting theme of only encouraging Blue Pikmin, with each sublevel being a challenge ideal for other Pikmin types. It's a tough challenge. Be cautious and keep losses to a minimum.
Treasure Location Description, Name, Details Vanishing Cookie North-central zone, dropped by a Fiery Bulblax Secured Satchel North wall, disable gates via button first Hoop of Passion Center of map. Easier to collect if gates are down first Juicy Gaggle Westmost curve, at the end. Be wary of enemies Ice Sword With the Juicy Gaggle
Sublevel 2
Treasure Location Description, Name, Details Crush Nugget (x2) In the central room, dropped by a Bulborb Daughter of the Earth In the Southeast corner, completely buried, needs dug up.
Sublevel 3
Treasure Location Description, Name, Details Scaly Custard East of the central area. Throw from the upper ledge to reach Memory Fragment (Bottom...Probably?) Central area, up a ledge Child of the Earth North side, partially buried
Sublevel 4
Treasure Location Description, Name, Details Turn-of-Events Track Southwest area. Destroy the mushrooms to clear the goo first Difficult-Choice Totem Northwest room, inside a tube Velvety Dreamdrop Northeast room, in the tube Insect Condo Northeast Room, dropped by the fungal frog enemy
Sublevel 5
Treasure Location Description, Name, Details Glinty Circular Disc Dropped by Waterwraith boss encounter Noble Goo In the West side of the round boss room. Requires dug up. Might require White Pikmin to find
NEXT: Pikmin 4 - FAQ Guide
Source: TheGamer


